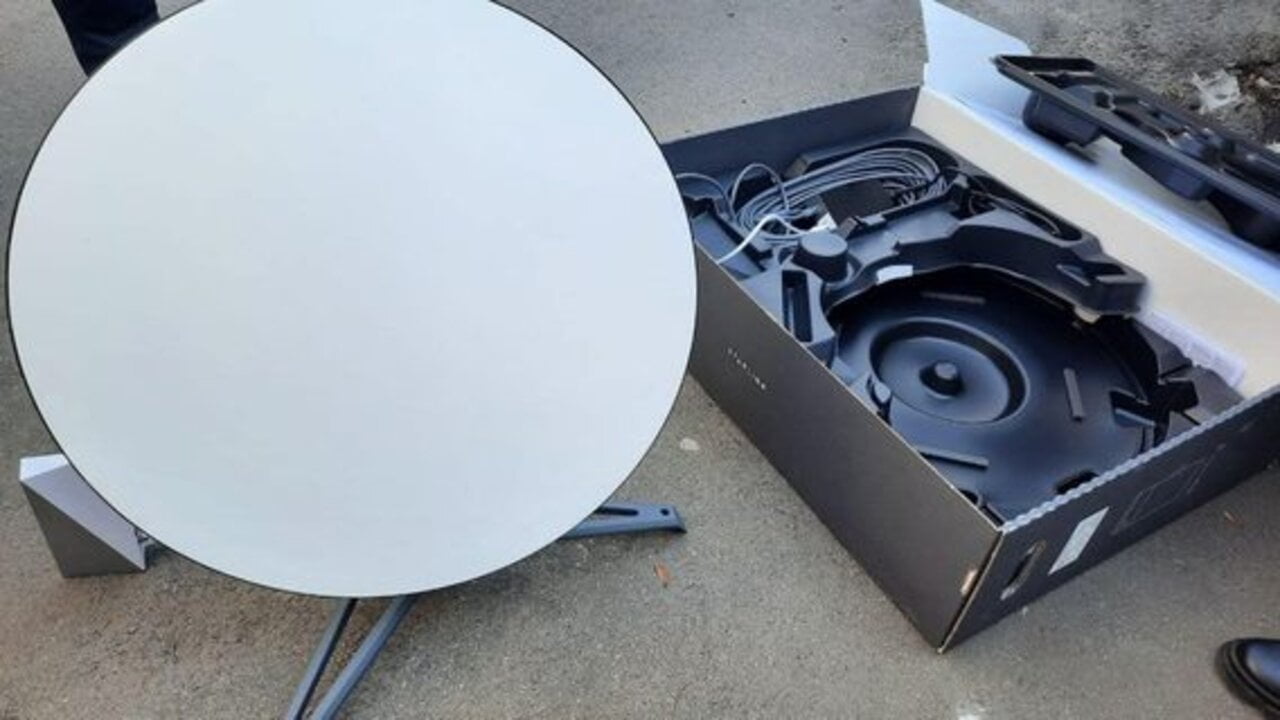
If you need to troubleshoot a network issue or transfer your Starlink router to someone else, you may need to factory reset it.
In this article, we will explain how to do this in only three steps.
First of all, it’s important to note that these steps apply to both the standard rectangular dish and the high-performance square dish of Starlink.
However, if you need to reset the original circular dish or a Starlink mesh node, you can find specific instructions later on this website.
Attention: These reset details are provided by Starlink. We are not responsible for any malfunction, accident, error, or data loss that may result from the reset process.

Steps to Factory Reset the Starlink Router:
Locate the Reset Button
The reset button is located on the bottom of the Starlink router. You will need to press and hold it for a few seconds.
Press and Hold the Reset Button
Once you’ve located the button, press and hold it for at least 5 seconds.
Wait for the Router to Restart
After releasing the reset button, the router will take a few minutes to restart. Make sure not to disconnect it during this time.
Once the router has restarted, connect to the default STINKY or STARLINK network and, if you wish, rename it and set a new password.
¿Necesitas ayuda? Únete a la comunidad de usuarios de Starlink que te ayudará con cualquier duda o problema que tengas:
If you need to reset a Starlink mesh node, visit the Starlink website for detailed instructions.
And that’s it! By following these simple steps, you’ll be able to reset your Starlink router in no time.
If you have any questions or need further assistance, feel free to contact Starlink customer support.

