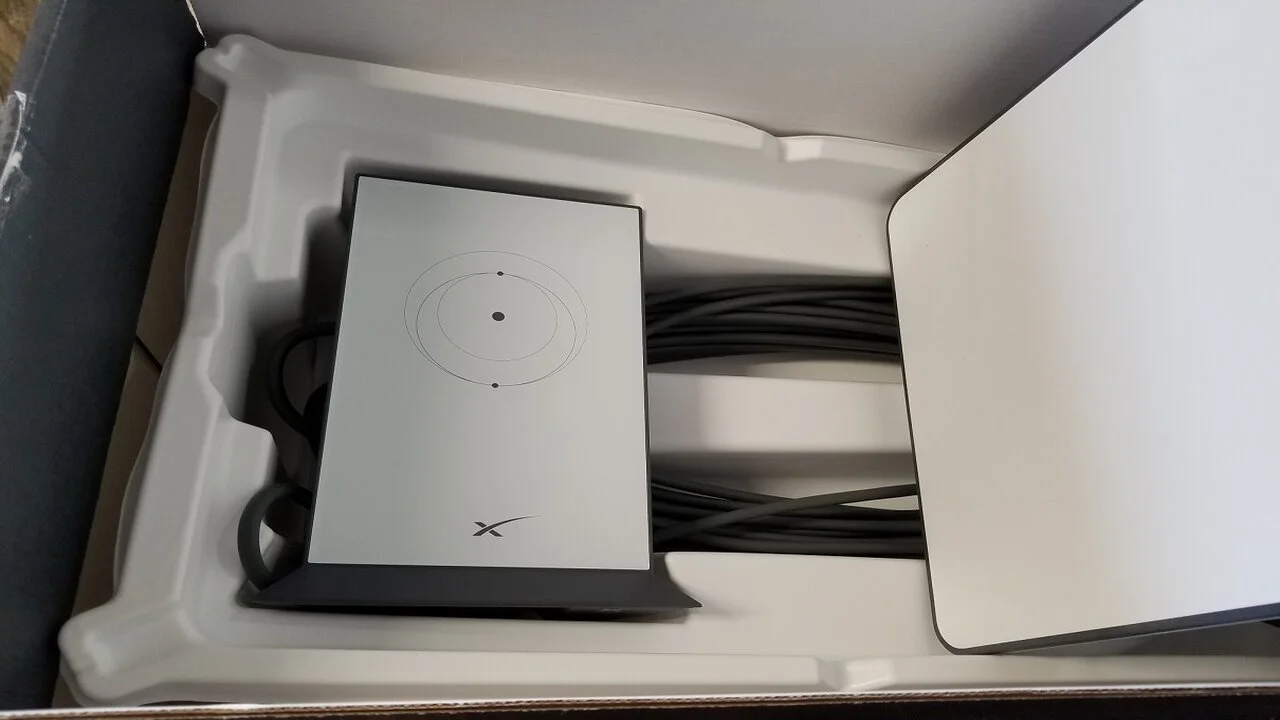
If you own a Starlink router and need to reset it to its factory settings, don’t worry, it’s not a complicated process.
In this article, we’ll explain how to do it in just three simple steps.
Note: These reset instructions are provided by Starlink. We are not responsible for any failures, accidents, errors, or loss of information that may result from the reset process.

Step 1: Preparation
Before you begin, make sure you are connected to the Wi-Fi network of your main router and not the default Wi-Fi network of the Starlink mesh node.
If you’re unsure how to do this, follow these steps:
- Turn the Starlink mesh node off and on 6 times in a row.
- Disconnect the power cable from the wall and plug it back in.
- Repeat the steps above 5 more times.
- Wait a few moments for the mesh node to reboot.
- Once the mesh node is powered on and connected to your main Starlink network, open the Starlink app.
Step 2: Factory Reset
In the app, select the “Factory Reset” option in the Starlink router settings section. Then confirm that you want to proceed with the reset process.
Step 3: Post-Reset Setup
Once the reset process is complete, reopen the Starlink app. This time, the app will prompt you to set up your Starlink router from scratch.
Follow the on-screen instructions to do so.
¿Necesitas ayuda? Únete a la comunidad de usuarios de Starlink que te ayudará con cualquier duda o problema que tengas:
Remember that factory resetting your Starlink router will erase all personalized settings, including passwords and usernames. Make sure you have this information handy before starting the reset process.
That’s it! Now you know how to factory reset your Starlink router in just a few steps.
If you have any questions or concerns, don’t hesitate to contact Starlink technical support for additional help.

