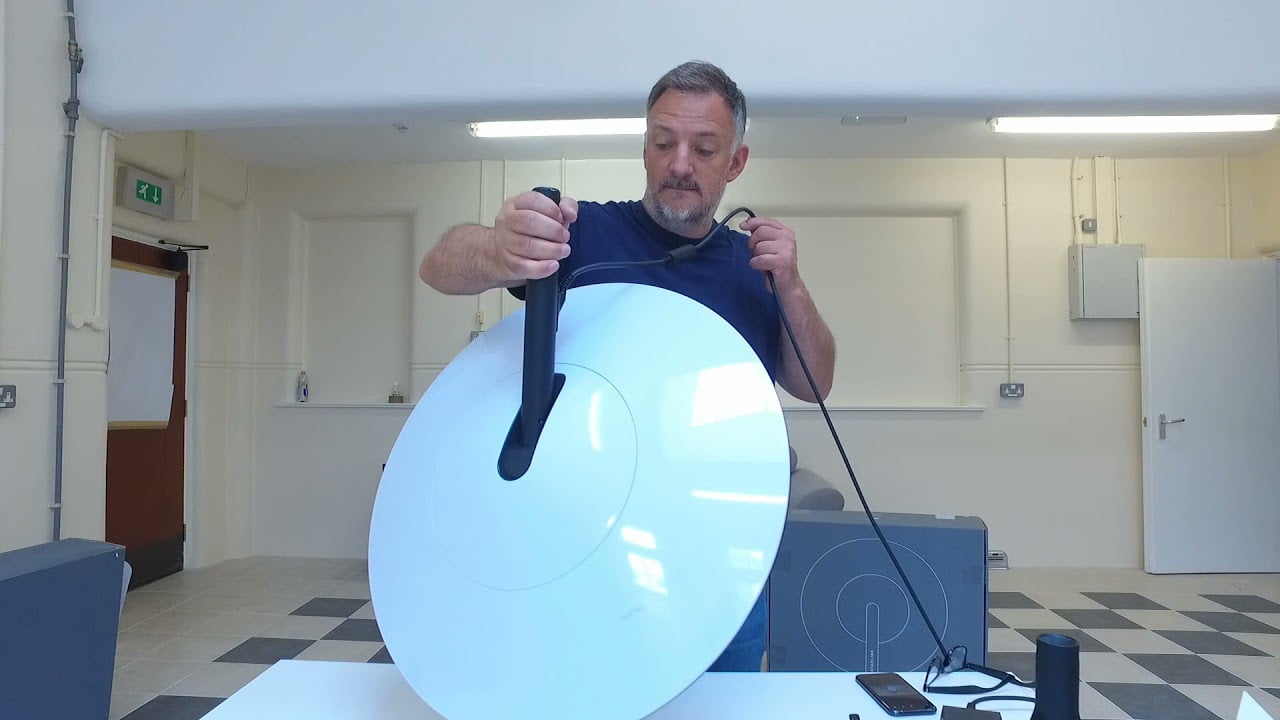
Do you want to know how to store your Starlink? The “storage” function allows you to move the dish to its default position.
Whether you need to return it to Starlink, troubleshoot issues, or relocate it to a new installation site, at some point, you will likely need to use this function.
There are three methods to store the Starlink dish. You can do it through the app, but there are also a couple of manual methods that require a more hands-on approach. You can even store the dish if it is broken or unresponsive.
In this tutorial, we will guide you through the manual storage method.

Storing without the app
If you don’t have access to the Starlink app but can physically access the dish, try this storage method:
Step 1: With the dish plugged in and powered on, remove it from the mounting base.
Step 2: Place the Starlink dish face down on a flat surface.
Step 3: After about a minute, the dish will automatically tilt to the storage position.
¿Necesitas ayuda? Únete a la comunidad de usuarios de Starlink que te ayudará con cualquier duda o problema que tengas:
Step 4: Immediately unplug the dish (either the Starlink cable or the power cable from the router) to keep it in storage.
To restore service to a dish stored with this method, reinstall it on the mount and reapply power.
The dish will automatically begin searching for satellites and orienting itself after several minutes.

